How operate sinker EDM electrode
- Installation and usage of EDM copper electrode holder
1.1:The installation of EDM Electrode :
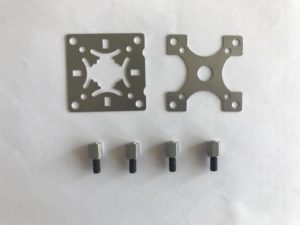
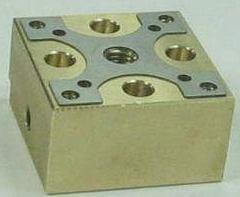
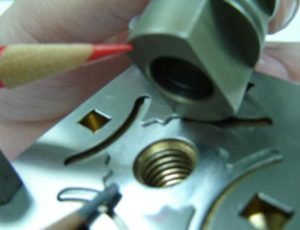
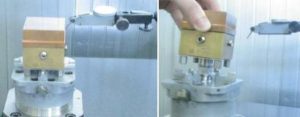
①The EDM electrode holder should be cleaned and assembled the centering plate , the clamp head and the electrode. Then, after setting the torque bar to 80 lbs, tighten the 4 foot screws.
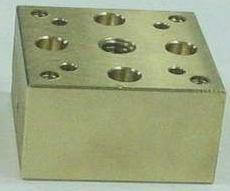
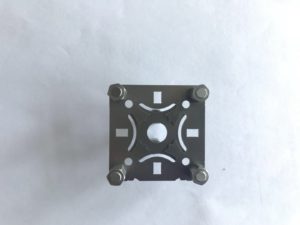
②After cleaning the platform, place the EDM electrode on the platform and check if the 4 feet are close to the platform surface.
Test the 4 foot screws if it is the same horizontal.
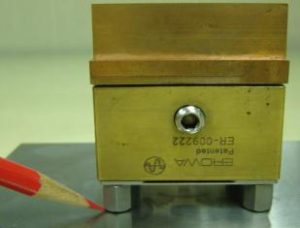
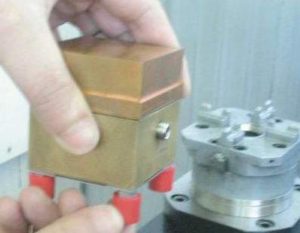
The electrode has been inspected, and the 4 feet are placed on the rubber sleeve (Fig. 6) before being sent to the next processing department.

1.2:the usage of CNC group﹑ EDM group:
① test electrode holder :

After receiving the electrode holder, the operator should take off the rubber sleeve of the foot and check whether the four screws are twisted tightly.
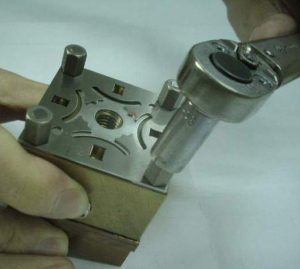
②Mounting spigot: After checking the EDM electrode holder , the spigot can be locked.
Clean the bonding surface between the chucking spigot and the centering plate
Align the position of the centering plate with the spigot and check that the position of the spigot matches the position of the tube on the centering plate.
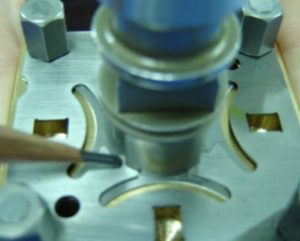
Lock the spigot tightly
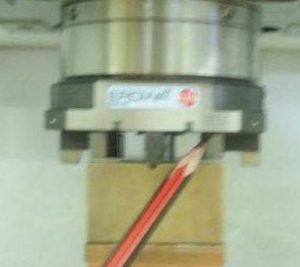
③mount on the chuck:
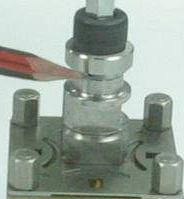
- Use a rod to tighten the chucking spigot on chuck and check that the four feet of the clamp head are close to the plane of the chuck. After the electrode holder is installed, it can be processed.

- ④Check if the processed electrode is centered and level:A.Remove the electrode holder from the machine and place it on the chuck of the marble table carefully。B.After installation, check the center and level of the electrode with the calibration meter on the marble table.。
- When the electrode holder needs to be rotated during the inspection, the electrode holder must be raised so that the four feet can be rotated , so as to prevent the four feet from hitting the chucks’ jaw。
- After the inspection is completed, the 4 feet of the electrode holder are put on the rubber sleeve before being sent to the next processing department.
- 1.3:EDM group﹑Wire EDM group:①After the polished electrode is sent to the EDM/wire EDM group, the operator cleans the electrode first, then removes the rubber sleeve and checks whether the screw is tight by hand.②After inspection, the electrode holder can be mounted on the chuck of the machine for EDM die sinking.
- 1.3:EDM group﹑Wire EDM group:①After the polished electrode is sent to the EDM/wire EDM group, the operator cleans the electrode first, then removes the rubber sleeve and checks whether the screw is tight by hand.②After inspection, the electrode holder can be mounted on the chuck of the machine for EDM die sinking.。